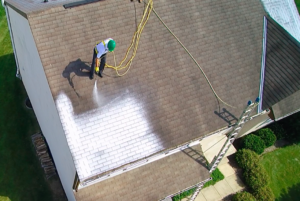
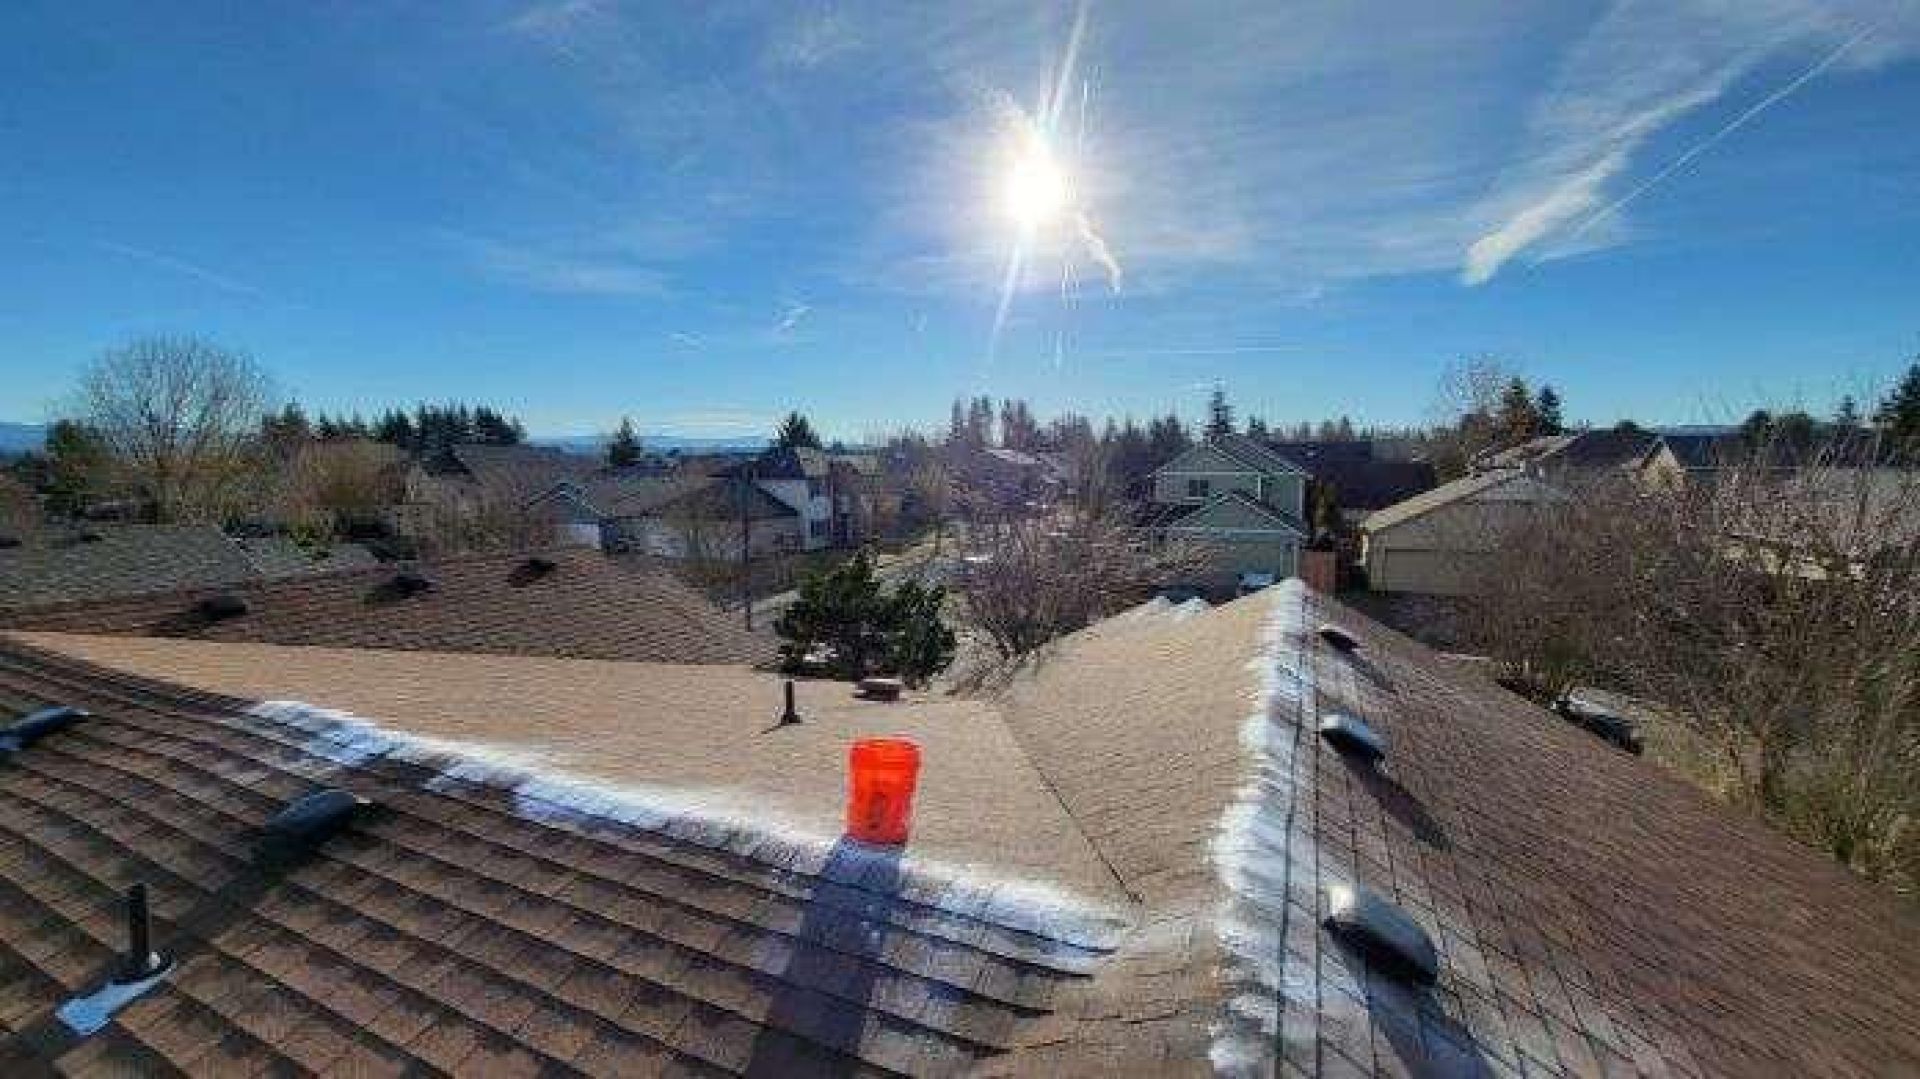
Moss growth on a roof is a common problem, especially in damp and shaded areas. While moss can give a home a charming, rustic appearance, it can also cause significant damage over time. Moss retains moisture, which can lead to rot, leaks, and deterioration of roofing materials. Properly preparing your roof for moss removal ensures a safe and effective cleaning process while also helping to prevent regrowth.
Understanding the Impact of Moss on Your Roof
 Moss thrives in cool, damp environments, making shaded roofs particularly susceptible to growth. It spreads through spores carried by wind and rain, quickly establishing itself in crevices and along shingles. While moss may appear harmless at first, it can lift shingles, allowing water to penetrate beneath them. Over time, this can lead to structural damage and costly repairs. Recognizing the signs of moss growth early and taking proactive steps can help maintain the longevity of your roof.
Assessing the Condition of Your Roof
Before starting the moss removal process, it is important to assess the overall condition of the roof. Walk around the perimeter of your home and inspect the roof from the ground using binoculars. Look for signs of damage such as missing or loose shingles, sagging areas, and visible moss growth. If the moss has been present for a long time, there may be underlying damage that requires professional inspection. In cases where structural issues are detected, addressing those concerns first will prevent further complications during the cleaning process.
Ensuring Safety Before You Begin
Roof work presents inherent risks, so safety should be a top priority. Before climbing onto the roof, make sure you have the proper equipment, including a sturdy ladder, slip-resistant shoes, and a harness if necessary. Choose a dry, calm day for moss removal to minimize the risk of slipping. If the roof is steep or particularly high, it may be best to hire a professional rather than attempting the task alone.
Gathering the Right Tools and Supplies
Moss removal requires specific tools and cleaning solutions to ensure effective results. A soft-bristle brush or a specialized moss removal tool can help loosen moss without damaging shingles. Avoid using high-pressure washers, as they can strip protective granules from asphalt shingles. A garden sprayer or hose with a gentle nozzle can be useful for applying cleaning solutions. Additionally, a mixture of water and mild detergent, or a specialized moss removal solution, can help break down the moss for easier removal.
Protecting Surrounding Areas
Moss removal solutions may contain chemicals that can affect plants, landscaping, or outdoor furniture. Before starting the cleaning process, cover plants and shrubs near the roof with plastic sheeting to protect them from runoff. Ensure that gutters and downspouts are clear of debris to allow proper drainage of the cleaning solution. If using a store-bought moss removal product, read the label carefully to ensure it is environmentally friendly and safe for surrounding vegetation.
Pre-Wetting the Roof for Easier Moss Removal
Dampening the moss before removal can make the process easier and reduce the risk of damaging roofing materials. Using a garden hose with a low-pressure nozzle, lightly spray the affected areas to soften the moss. Avoid excessive saturation, as too much water can weaken the structure of the roof and make it slippery. Allow the moisture to penetrate the moss for a few minutes before beginning the removal process.
Removing Moss Carefully and Effectively
Once the moss has been softened, gently brush it away using a soft-bristle brush or moss removal tool. Work in downward strokes to avoid lifting or damaging shingles. Do not use metal brushes or harsh scraping tools, as they can cause more harm than good. For stubborn patches of moss, applying a moss-killing solution and allowing it to sit for the recommended amount of time can make removal easier.
Cleaning Up Debris and Residual Moss
After the moss has been removed, it is essential to clean up any remaining debris to prevent it from spreading to other areas of the roof. Use a leaf blower or a soft broom to remove loose material from the surface. Check gutters and downspouts for moss buildup and clear them as needed to maintain proper drainage. Disposing of moss properly will help prevent spores from settling elsewhere on the roof.
Applying Preventative Treatments
To discourage moss regrowth, consider applying a preventative treatment designed to inhibit future growth. Zinc or copper strips installed along the roof ridge can help create an inhospitable environment for moss. Additionally, treating the roof with a moss-resistant solution can provide long-term protection. Regular roof maintenance, including trimming overhanging branches to increase sunlight exposure, will also help reduce the likelihood of moss returning.

Scheduling Routine Roof Maintenance
Preventing moss buildup requires ongoing maintenance. Scheduling periodic roof inspections and cleanings will help identify potential problems before they become major issues. Keeping gutters clean, removing debris, and ensuring adequate ventilation can all contribute to a healthier roof. In regions where moss growth is common, checking the roof at least twice a year can help catch early signs of growth before they spread.
When to Seek Professional Help
While DIY moss removal is possible for many homeowners, some situations require professional assistance. If moss has caused significant damage, or if the roof is difficult to access, hiring a roofing specialist may be the safest and most effective solution. Professionals have the expertise and equipment needed to remove moss without causing further damage. They can also provide guidance on long-term prevention strategies to keep the roof in good condition.